
PlentyONE Plugin Setup
In just a few steps, we will guide you through installing and configuring the PlentyONE integration for Loyalista. The integration enables you to seamlessly incorporate Loyalista features into your plentyShop, fostering long-term customer loyalty.
After successfully completing plugin setup, we recommend reviewing our Further Explanations and Best Practices.
Install and Deploy the Loyalista Plugin
In your PlentyONE system, navigate to Plugins >> plentyMarketplace. Search for Loyalista and add the plugin. For detailed guidance on installing plugins, consult the PlentyONE manual.
Once installed, link the plugin to your desired plugin set and deploy it.
Set Up Plugin Connection
The connection between PlentyONE and Loyalista is established via OAuth2 using the PlentyONE assistant:
- In your PlentyONE system, navigate to Setup >> Assistants >> Plugins.
- Select the plugin set in which the Loyalista plugin is installed and deployed.
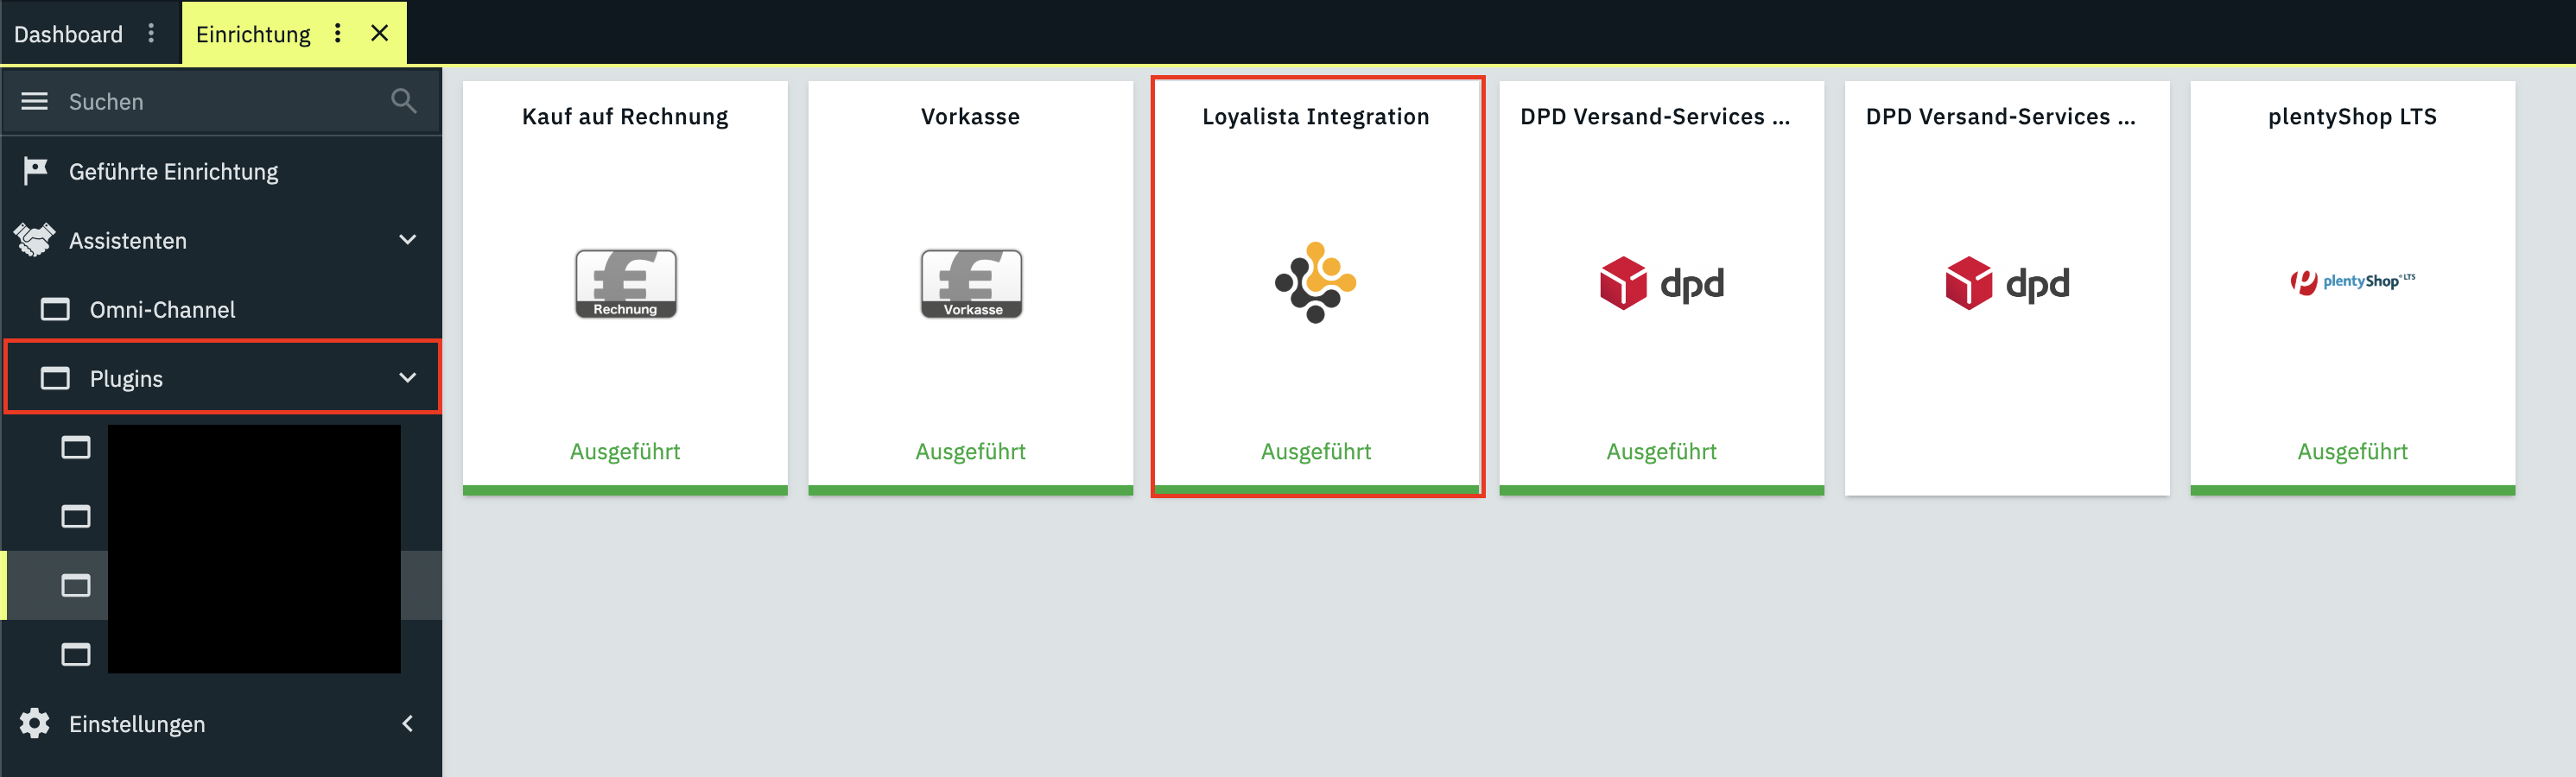
- Find and select the Loyalista Integration plugin (Figure 1). The assistant will open.
- In the assistant, click on MIT LOYALISTA VERBINDEN (Figure 2). You will be redirected for authorization. If not already done, log in to your Loyalista account and confirm the connection.
- Once connected, a confirmation message indicates the successful connection and you will be returned to the assistant.
- Complete the assistant to finalize the connection setup.

Edit Plugin Content
Open the content settings by selecting Content within the plugin (Figure 3). Here you will find predefined texts and settings displayed across widgets in your plentyShop. You can customize each text as needed. Save your changes by clicking save  .
.
Table 1, Table 2, Table 3, and Table 4 explain which texts appear in each respective widget:
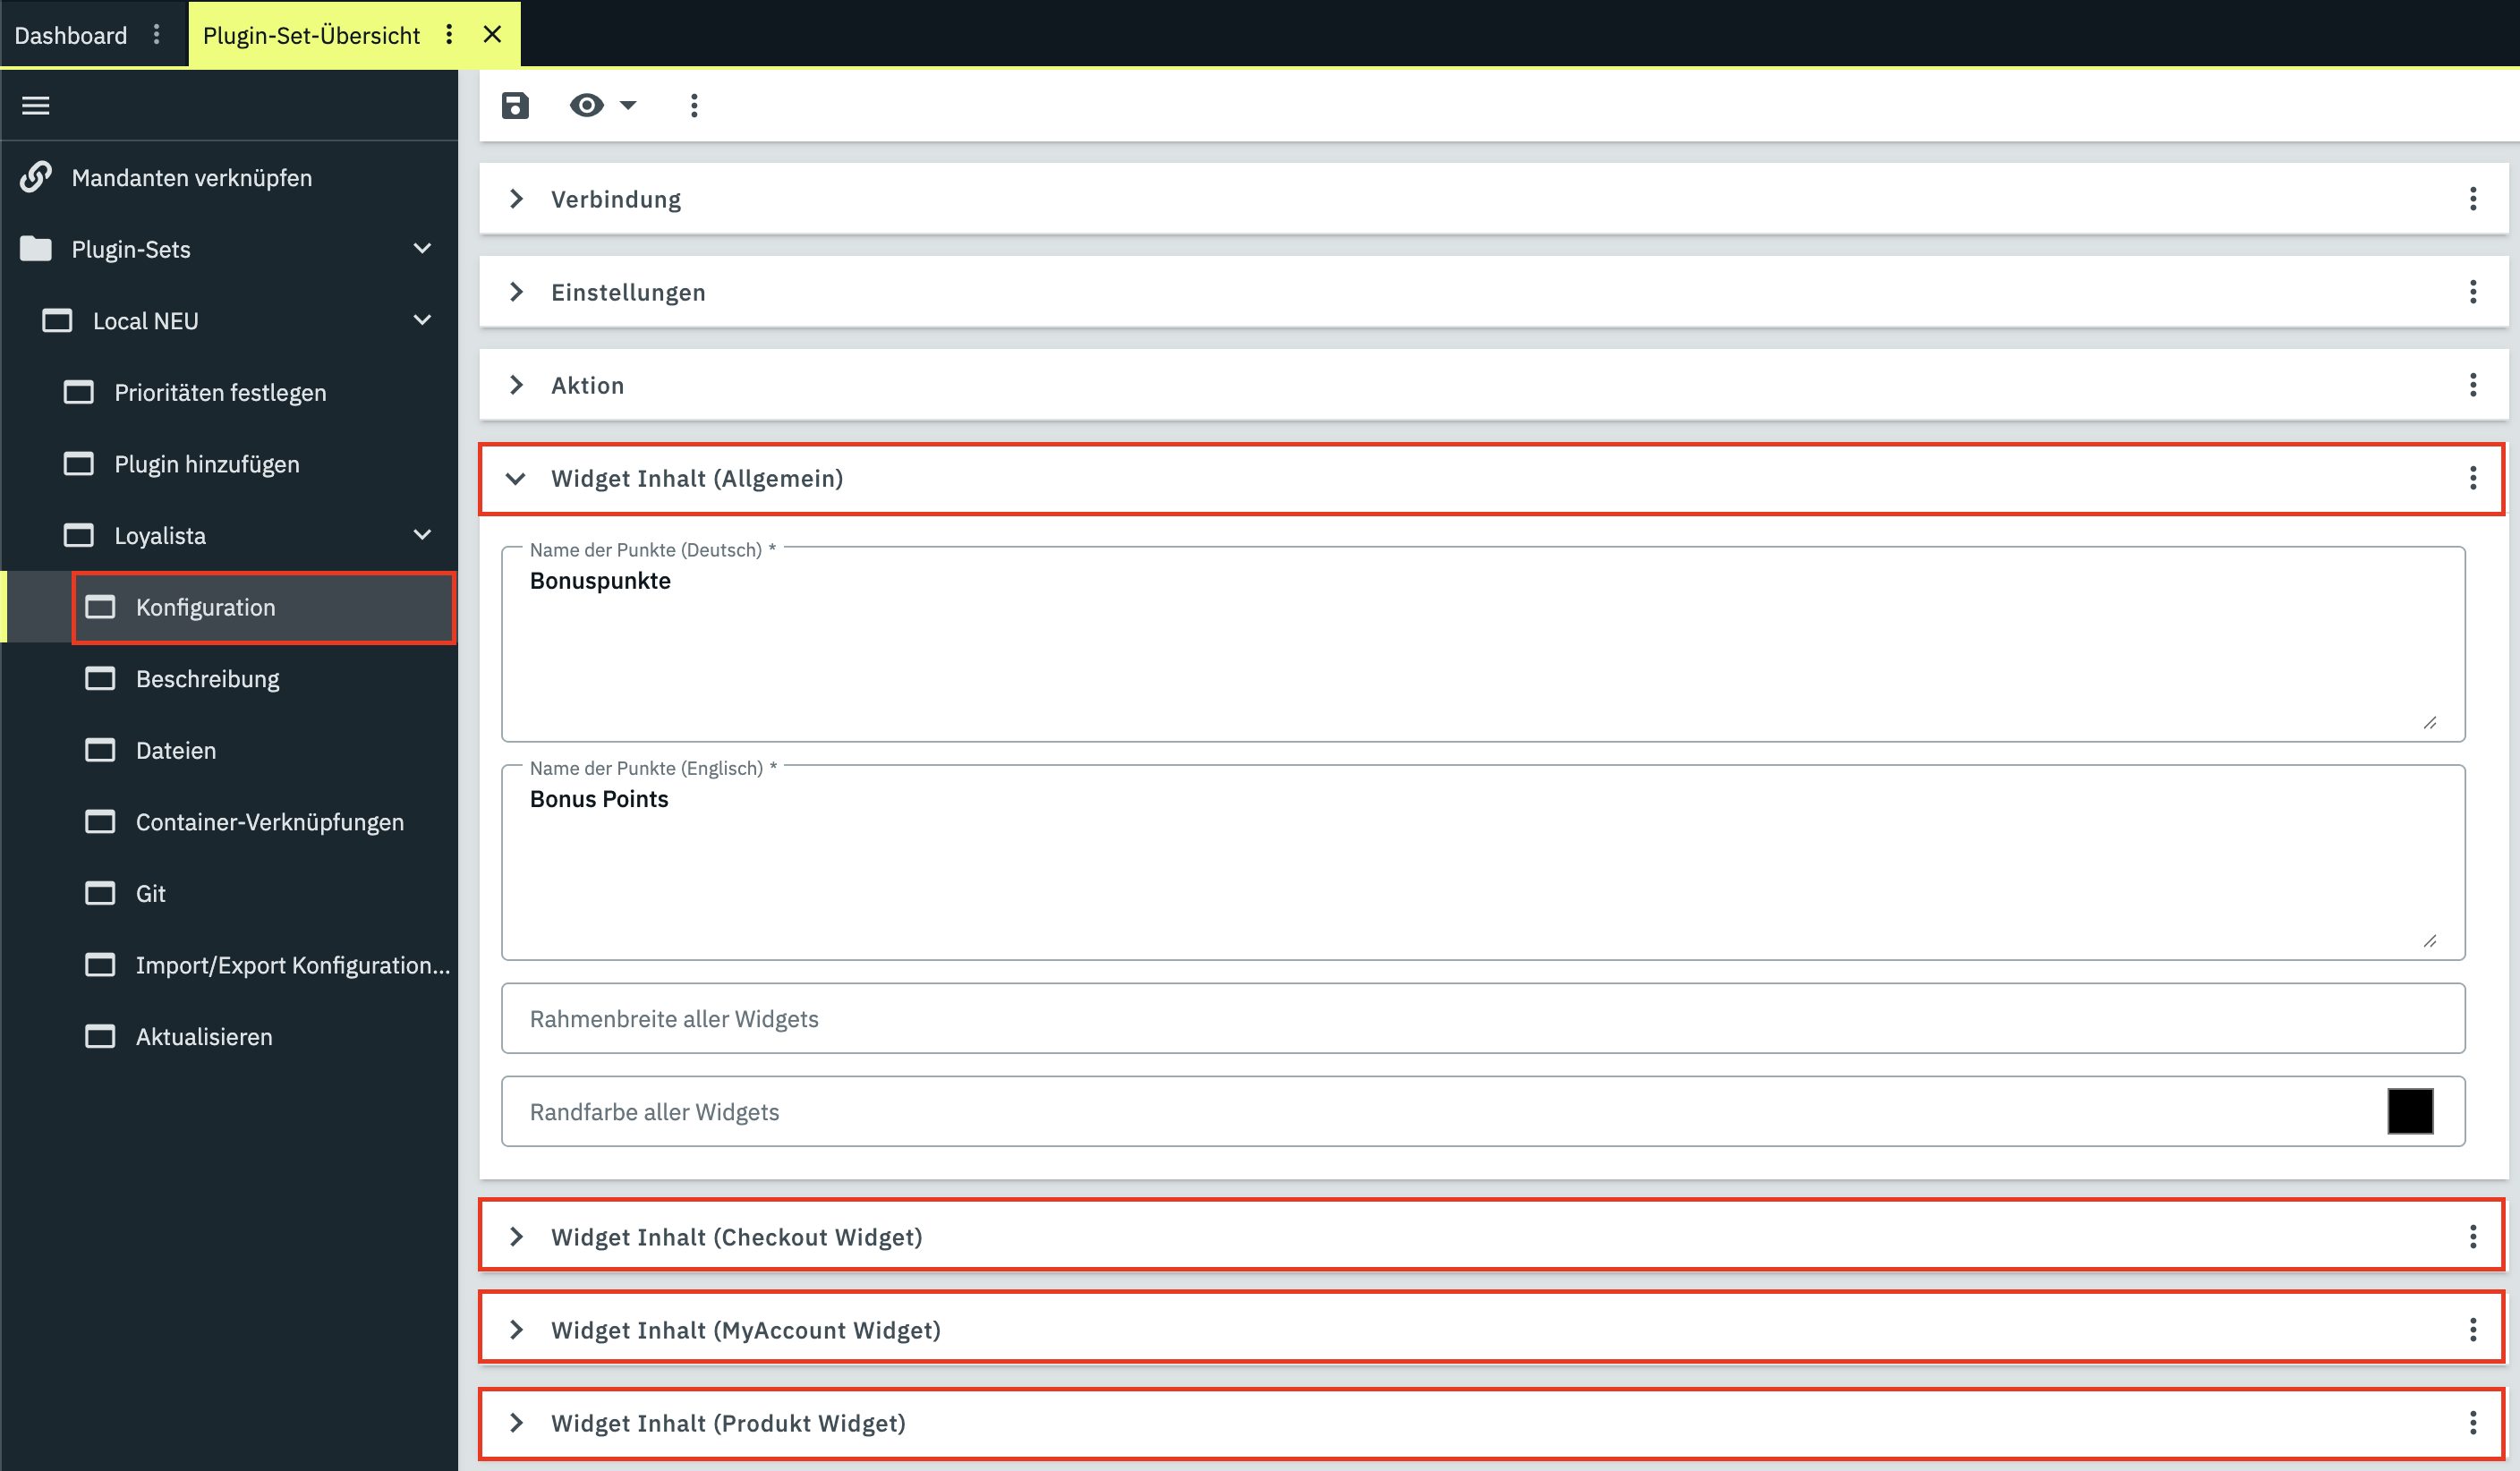
Widget Content (General)
| Field | Explanation |
|---|---|
| Name of points | Enter the name for your points here (e.g. points, hearts, coins). |
| Border width of all widgets | Enter the width of the border here in pixels (px) (default is 1). If the field is left empty, the CSS of the page or theme is used. If a value is entered, the CSS of the page or theme is overridden. |
| Border color of all widgets | Enter the color of the border here as a hex code (e.g. #000000). If the field is left empty, the CSS of the page or theme is used. If a value is entered, the CSS of the page or theme is overridden. |
Widget Content (Checkout Widget)
| Field | Explanation |
|---|---|
| Heading | Enter the heading for the Checkout/Shopping cart widget here. |
| Text hint for unregistered users | Enter the text here that will be displayed to users who are not logged in. Available variable: [points_for_signup]. |
| Text hint for registered users | Enter the text here that will be displayed to users who are logged in. Available variable: [account_balance]. |
| Text hint for no point redemption | Enter the text here that is displayed when no points have been selected for redemption. |
| Text hint for full point redemption | Enter the text here that is displayed when all available points have been selected for redemption. |
| Text hint for partial point redemption | Enter the text here that is displayed when only some of the points have been selected for redemption. Available variable: [redeemed_points]. |
Widget Content (MyAccount Widget)
| Field | Explanation |
|---|---|
| Heading | Enter the heading for the MyAccount widget here. |
| Text hint for unregistered users | Enter the text here that will be displayed to users who are not logged in. Available variable: [points_for_signup]. |
| Text hint for ending participation | Enter the text here that is displayed below the button to end participation. |
| Text hint for redeemable points | Enter the text here that will be displayed for the redeemable points. Available variable: [account_balance]. |
| Text hint for locked points | Enter the text here that will be displayed for the currently locked points. Available variable: [locked_balance]. |
| Text hint for expiring points | Enter the text here that will be displayed for the points that will expire soon. Available variable: [expiring_points], [expiry_date]. |
| Text hint for merging accounts | Enter the text here that will be displayed to users when there is a possibility of merging accounts. |
| Text hint for points for birthday | Enter the text here that will be displayed as a hint for the points for the birthday. Available variable: [points_for_birthday]. |
Widget Content (Product Widget)
| Field | Explanation |
|---|---|
| Heading | Enter the heading for the Product widget here. |
| Text hint for unregistered users | Enter the text here that will display the points for this product to unregistered users. Available variable: [points_per_product]. |
| Text hint for registered users | Enter the text here that will display the points for this product to registered users. Available variable: [points_per_product]. |
| Text hint for extra points for registered users | Enter the text here that will show the extra points for this product to users if any have been defined in Loyalista for the product or category. Available variable: [extra_points]. |
Configure Bonus Program Settings
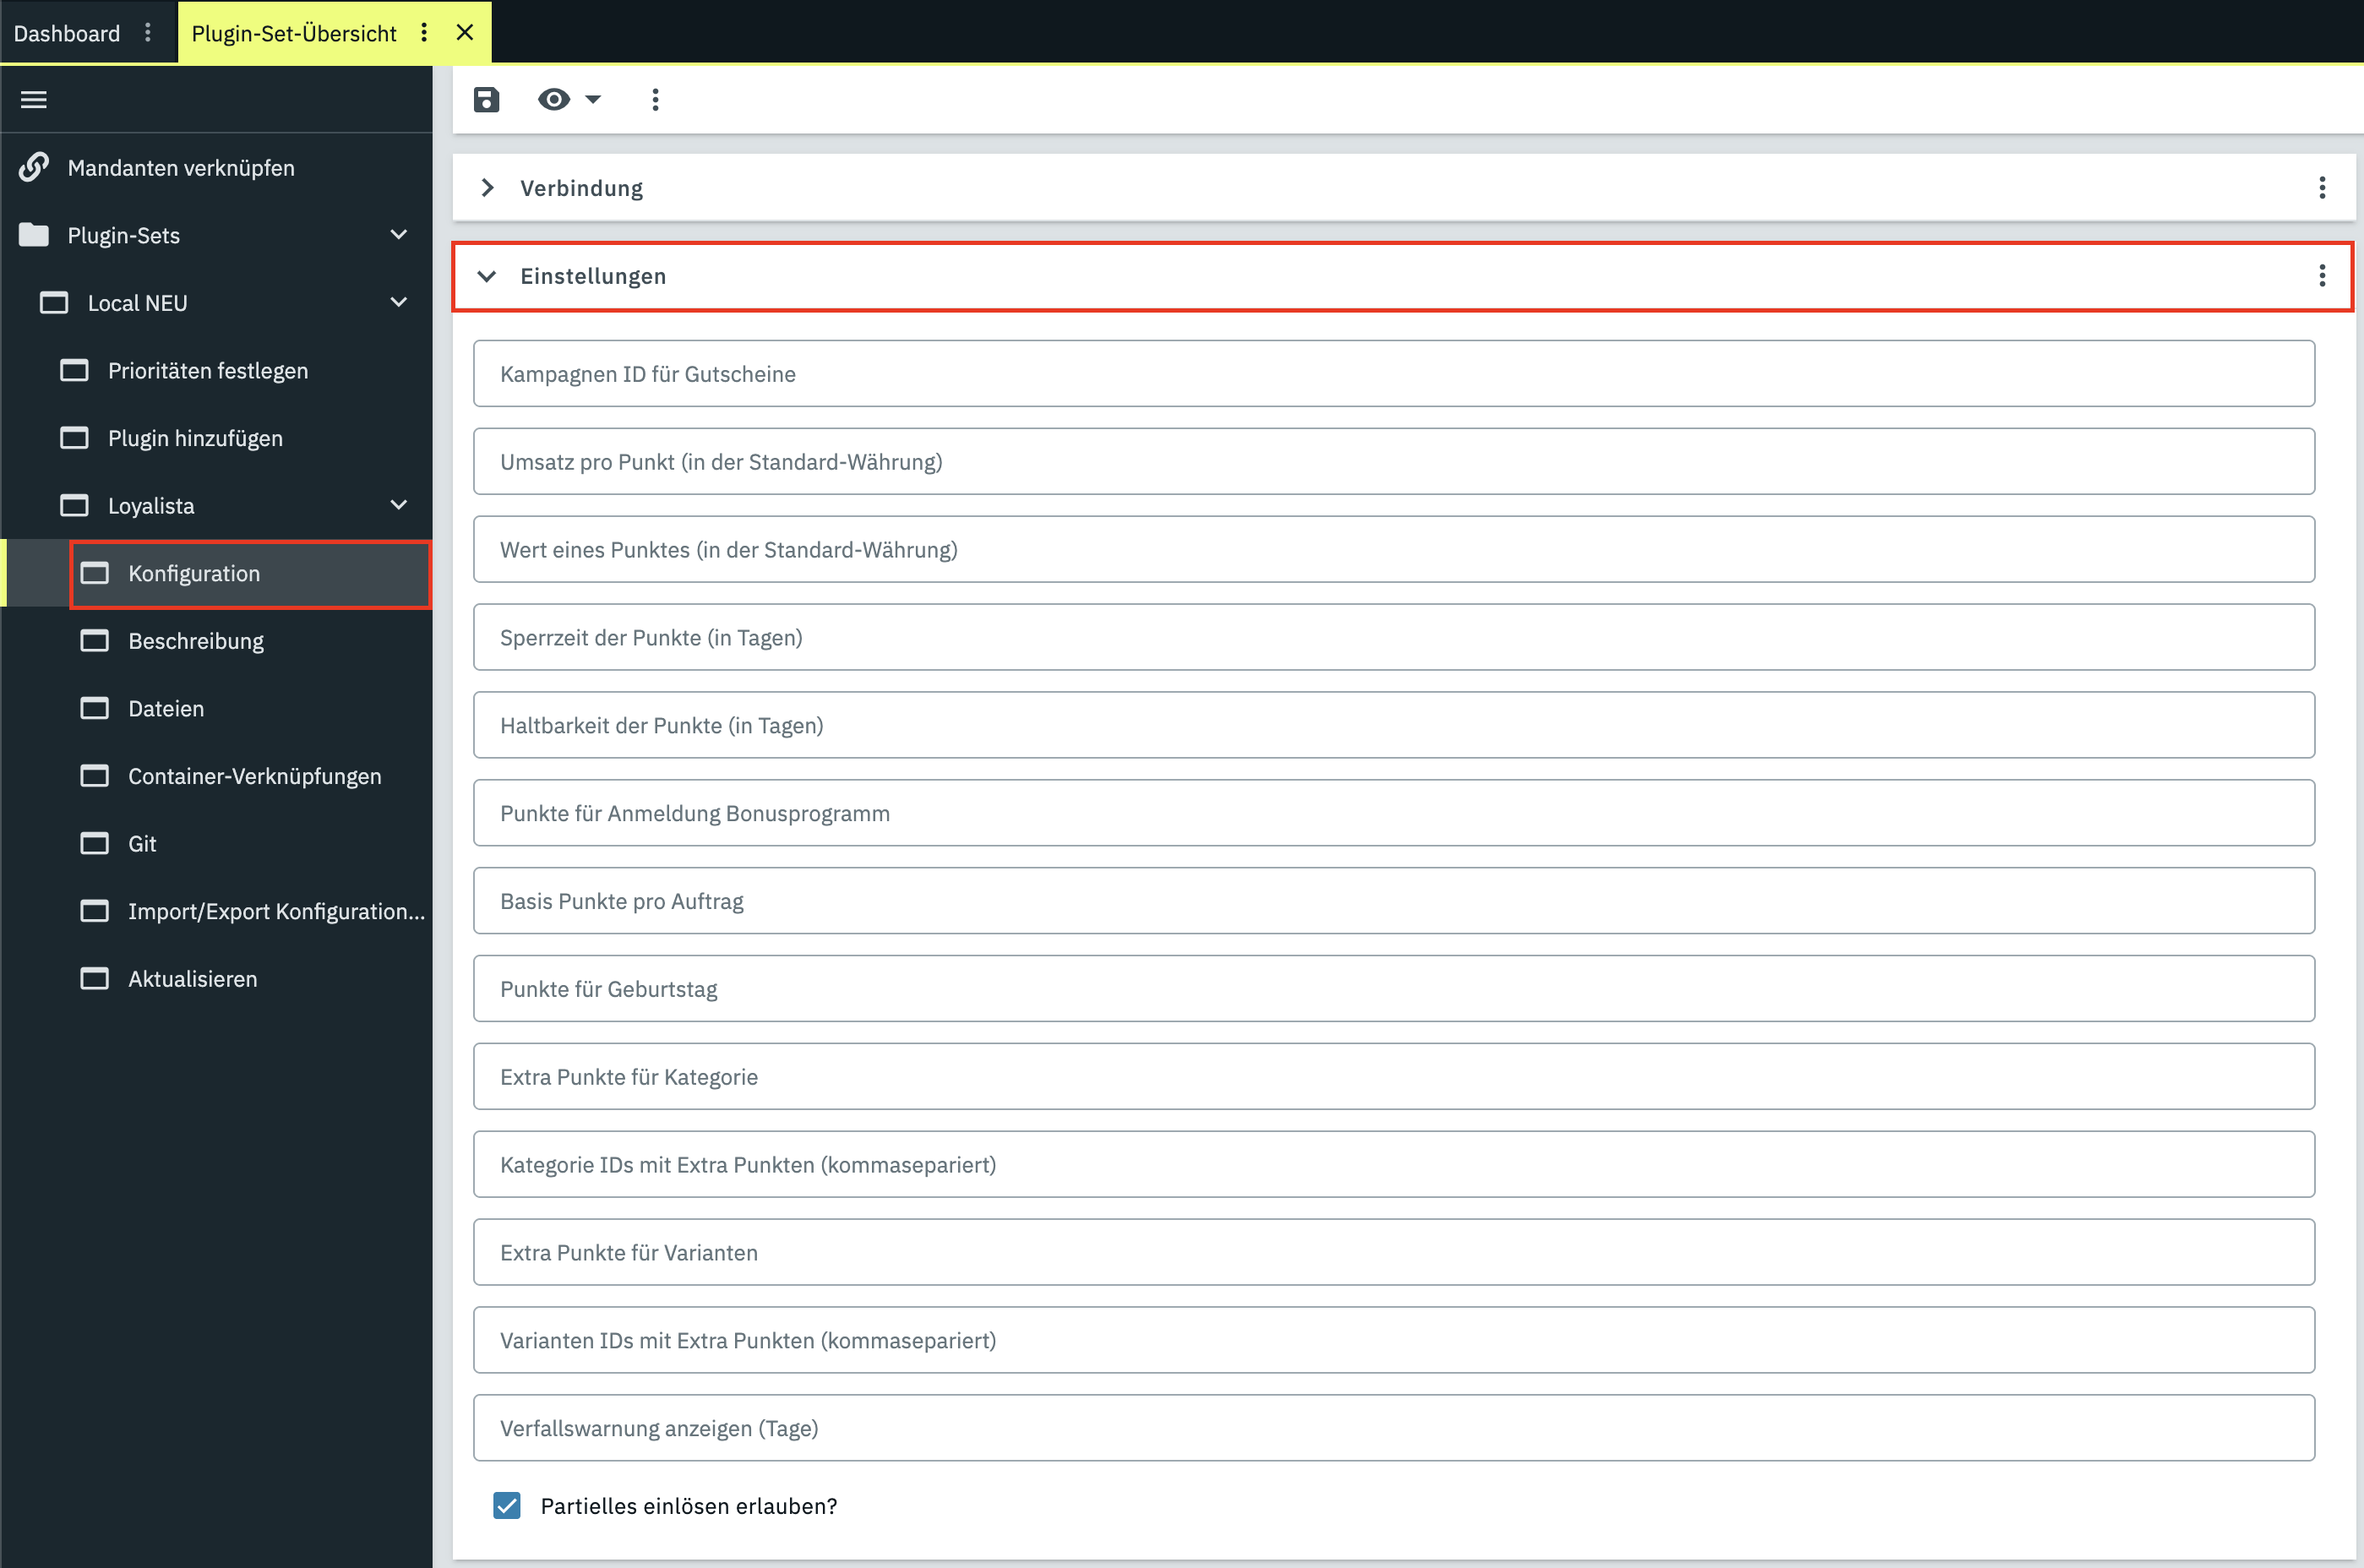
Select Settings within the plugin (Figure 4). Tailor your loyalty program by configuring the options outlined in Table 5. Confirm your choices by clicking save .
| Template-Variable | Explanations |
|---|---|
| [points_label] | Outputs the name of the points. |
| [points_for_signup] | Outputs the number of points that users receive for registering for the loyalty program. |
| [number_of_points_shopping_cart] | Outputs the number of points that will be credited to the current shopping basket in the event of a purchase. |
| [account_balance] | Outputs the number of redeemable points. |
| [value_of_account_balance] | Outputs the value in € of the redeemable points. |
| [date_of_expiry] | Currently outputs the value 30. This is the period in days that is used as the basis for the template variable [amount_of_points]. |
| [amount_of_points] | Outputs the number of points that will expire in the next [date_of_expiry] days. |
| [number_of_points] | Outputs the number of standard points that will be credited for an item of the current product. |
| [points_for_product] | Outputs the number of standard points that will be credited for an item of the current product. |
| [number_of_extra_points] | Outputs the number of extra points that will be credited for an item of the current product. |
| [extra_points] | Outputs the number of extra points that will be credited for an item of the current product. |
| [locked_balance] | Outputs the number of currently locked points. |
| [expiring_points] | Outputs the number of points that will expire soon. |
| [expiry_date] | Outputs the date on which points will expire. |
| [redeemed_points] | Outputs the number of points that have been redeemed. |
| [points_for_birthday] | Outputs the number of points that users receive for their birthday. |
| [total_number_of_redeemable_points] | Outputs the number of currently redeemable points. |
| [total_number_of_locked_points] | Outputs the number of currently locked points. |
Configure Vouchers
To enable point redemptions in the checkout, set up a corresponding voucher campaign under Orders >> Coupons in PlentyONE. For detailed instructions, refer to the PlentyONE manual on coupons.
Place Widgets via ShopBuilder
Use the PlentyONE ShopBuilder to position the three Loyalista widgets on your store pages. For more details, consult the PlentyONE ShopBuilder manual.
MyAccount Widget
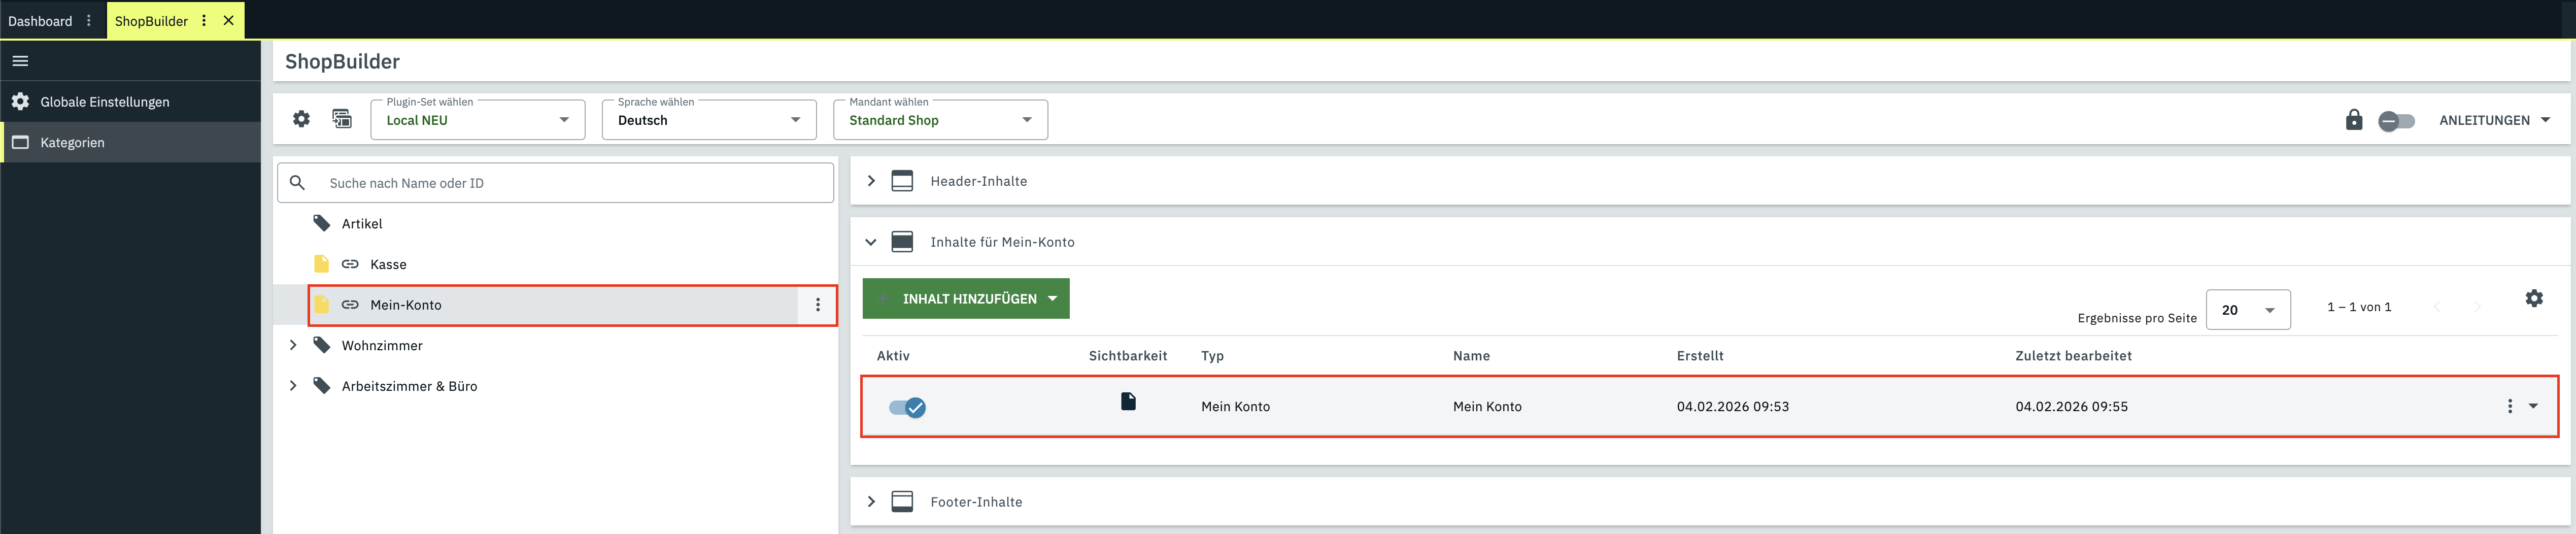
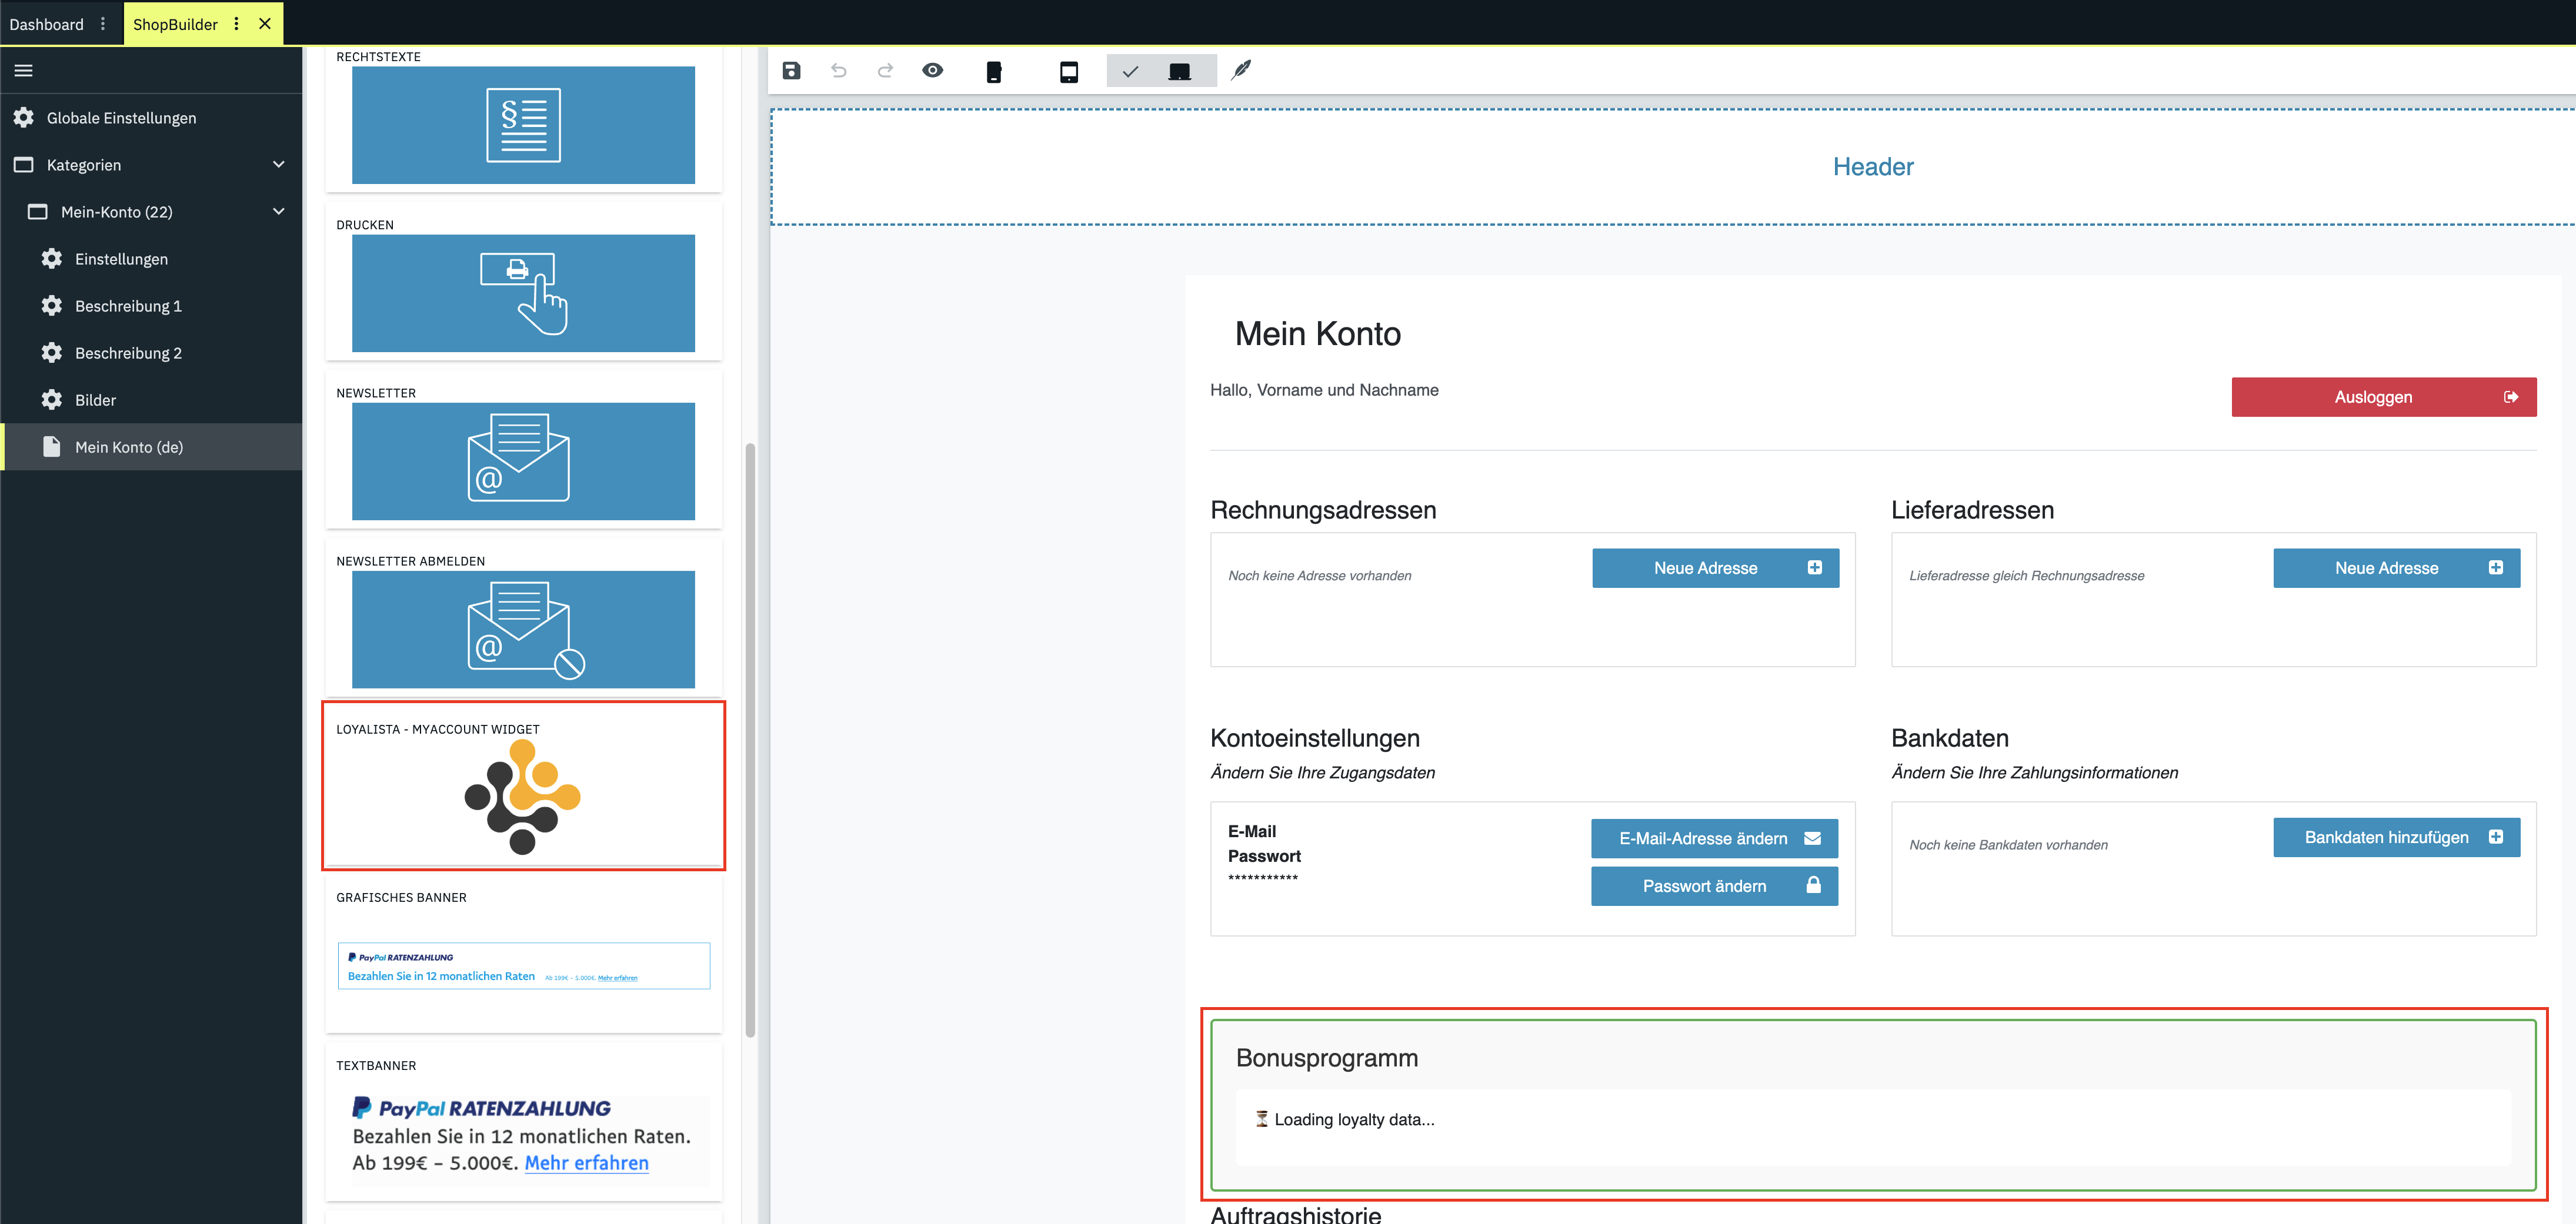
Select the category corresponding to your My Account page in ShopBuilder (Figure 5). Open the active page (Figure 6), drag the Loyalista – MyAccount Widget to your preferred position, and save your changes .
Product Widget
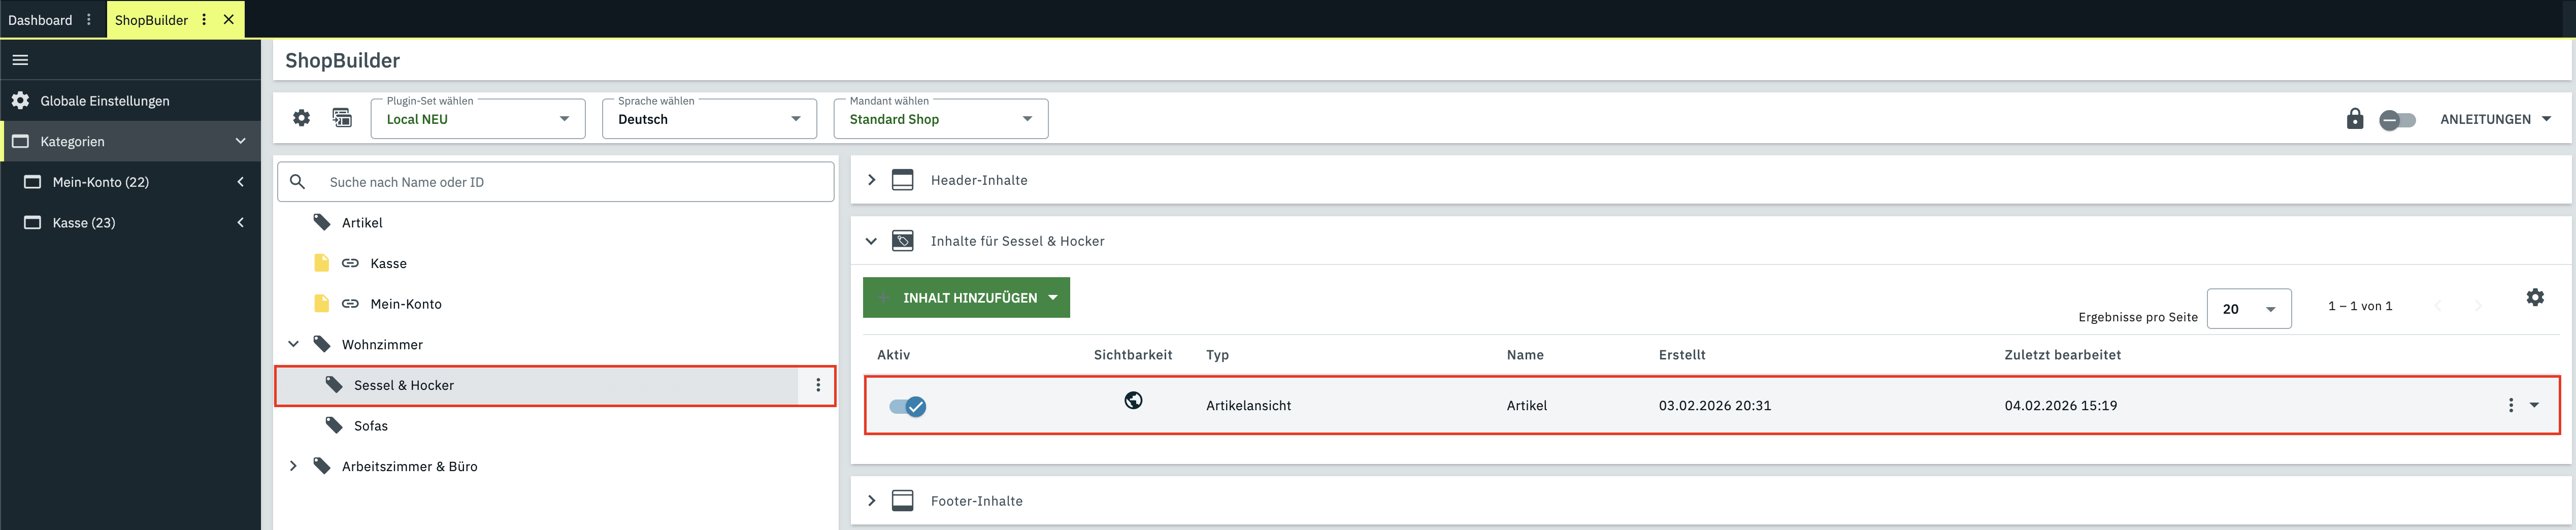
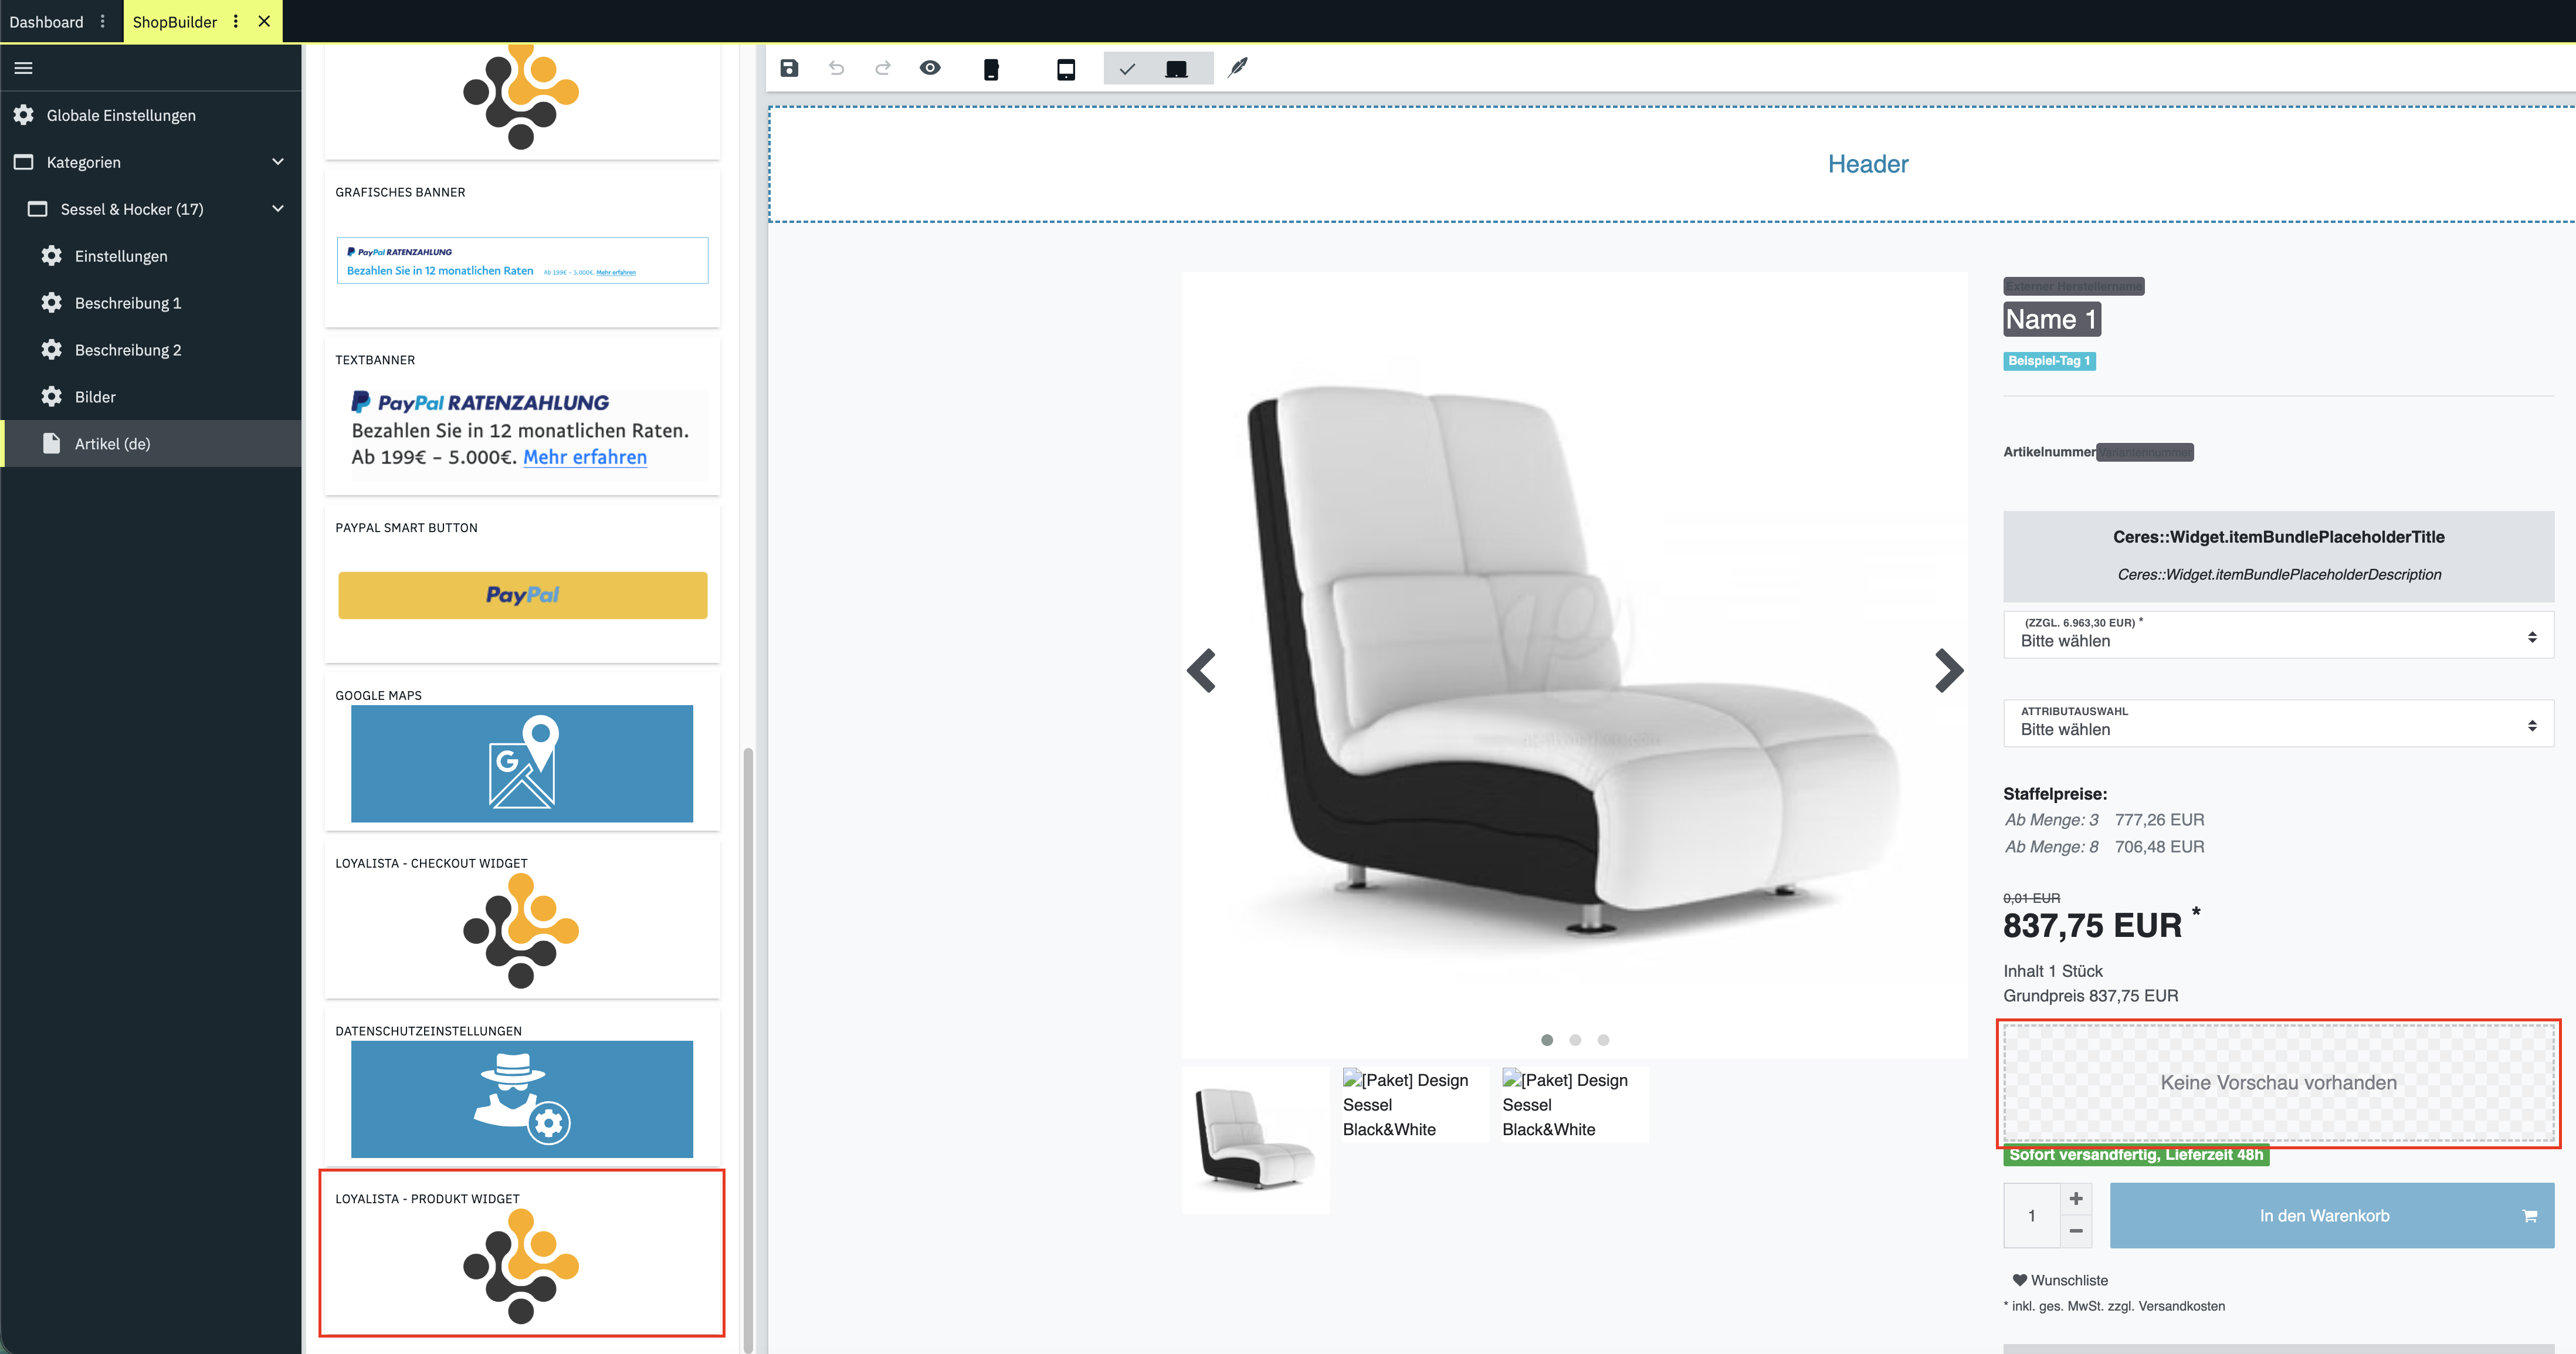
The Product widget indicates on item detail pages how many points customers earn when purchasing a product. Place the widget on your item view in the same manner (Figure 7 and Figure 8).
Checkout Widget
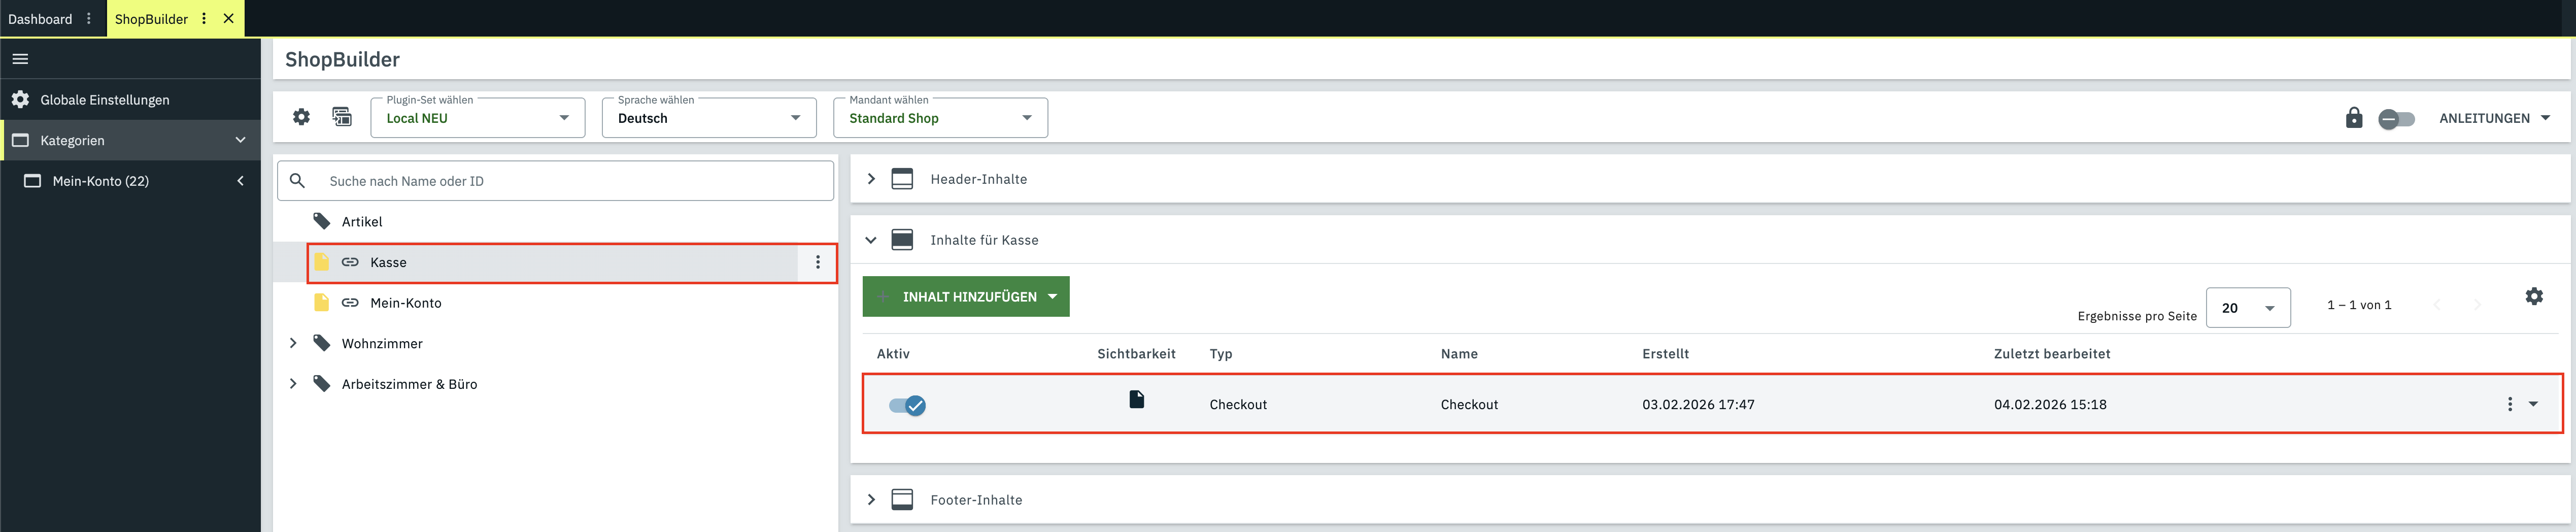
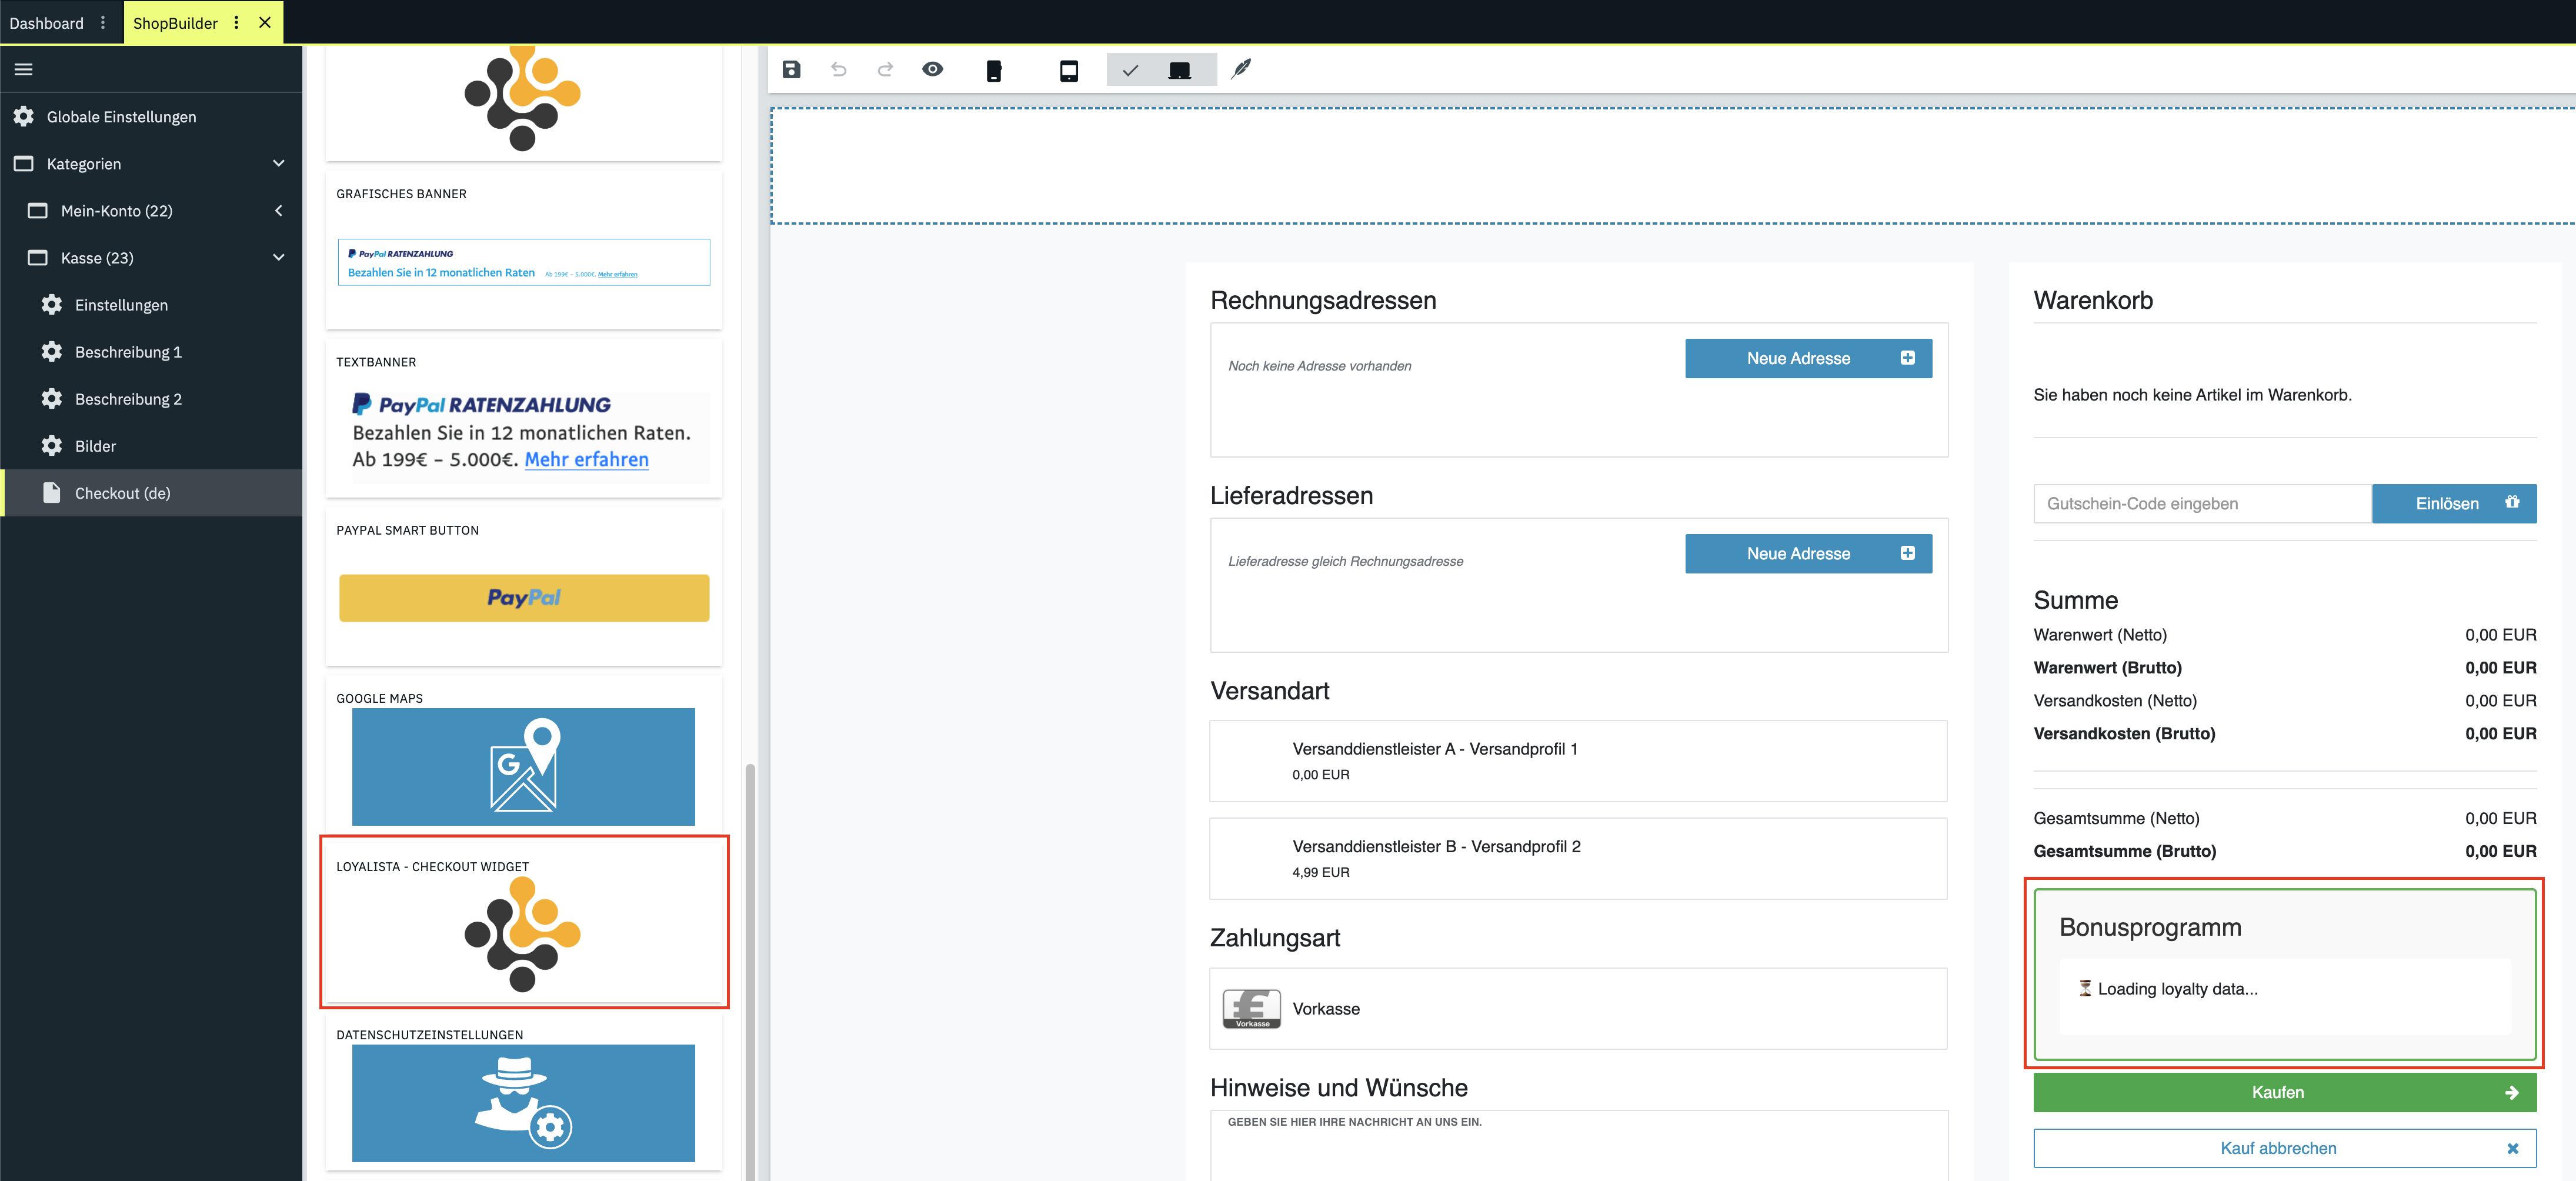
The Checkout widget enables customers to redeem points during order completion. Position the widget on your checkout page (Figure 9 and Figure 10).
Set Up Event Procedures
To transmit orders and credit notes automatically to Loyalista, configure event procedures in PlentyONE. Navigate to Setup >> Orders >> Events and add a new procedure (Figure 11). For comprehensive instructions, see the PlentyONE manual on event procedures.
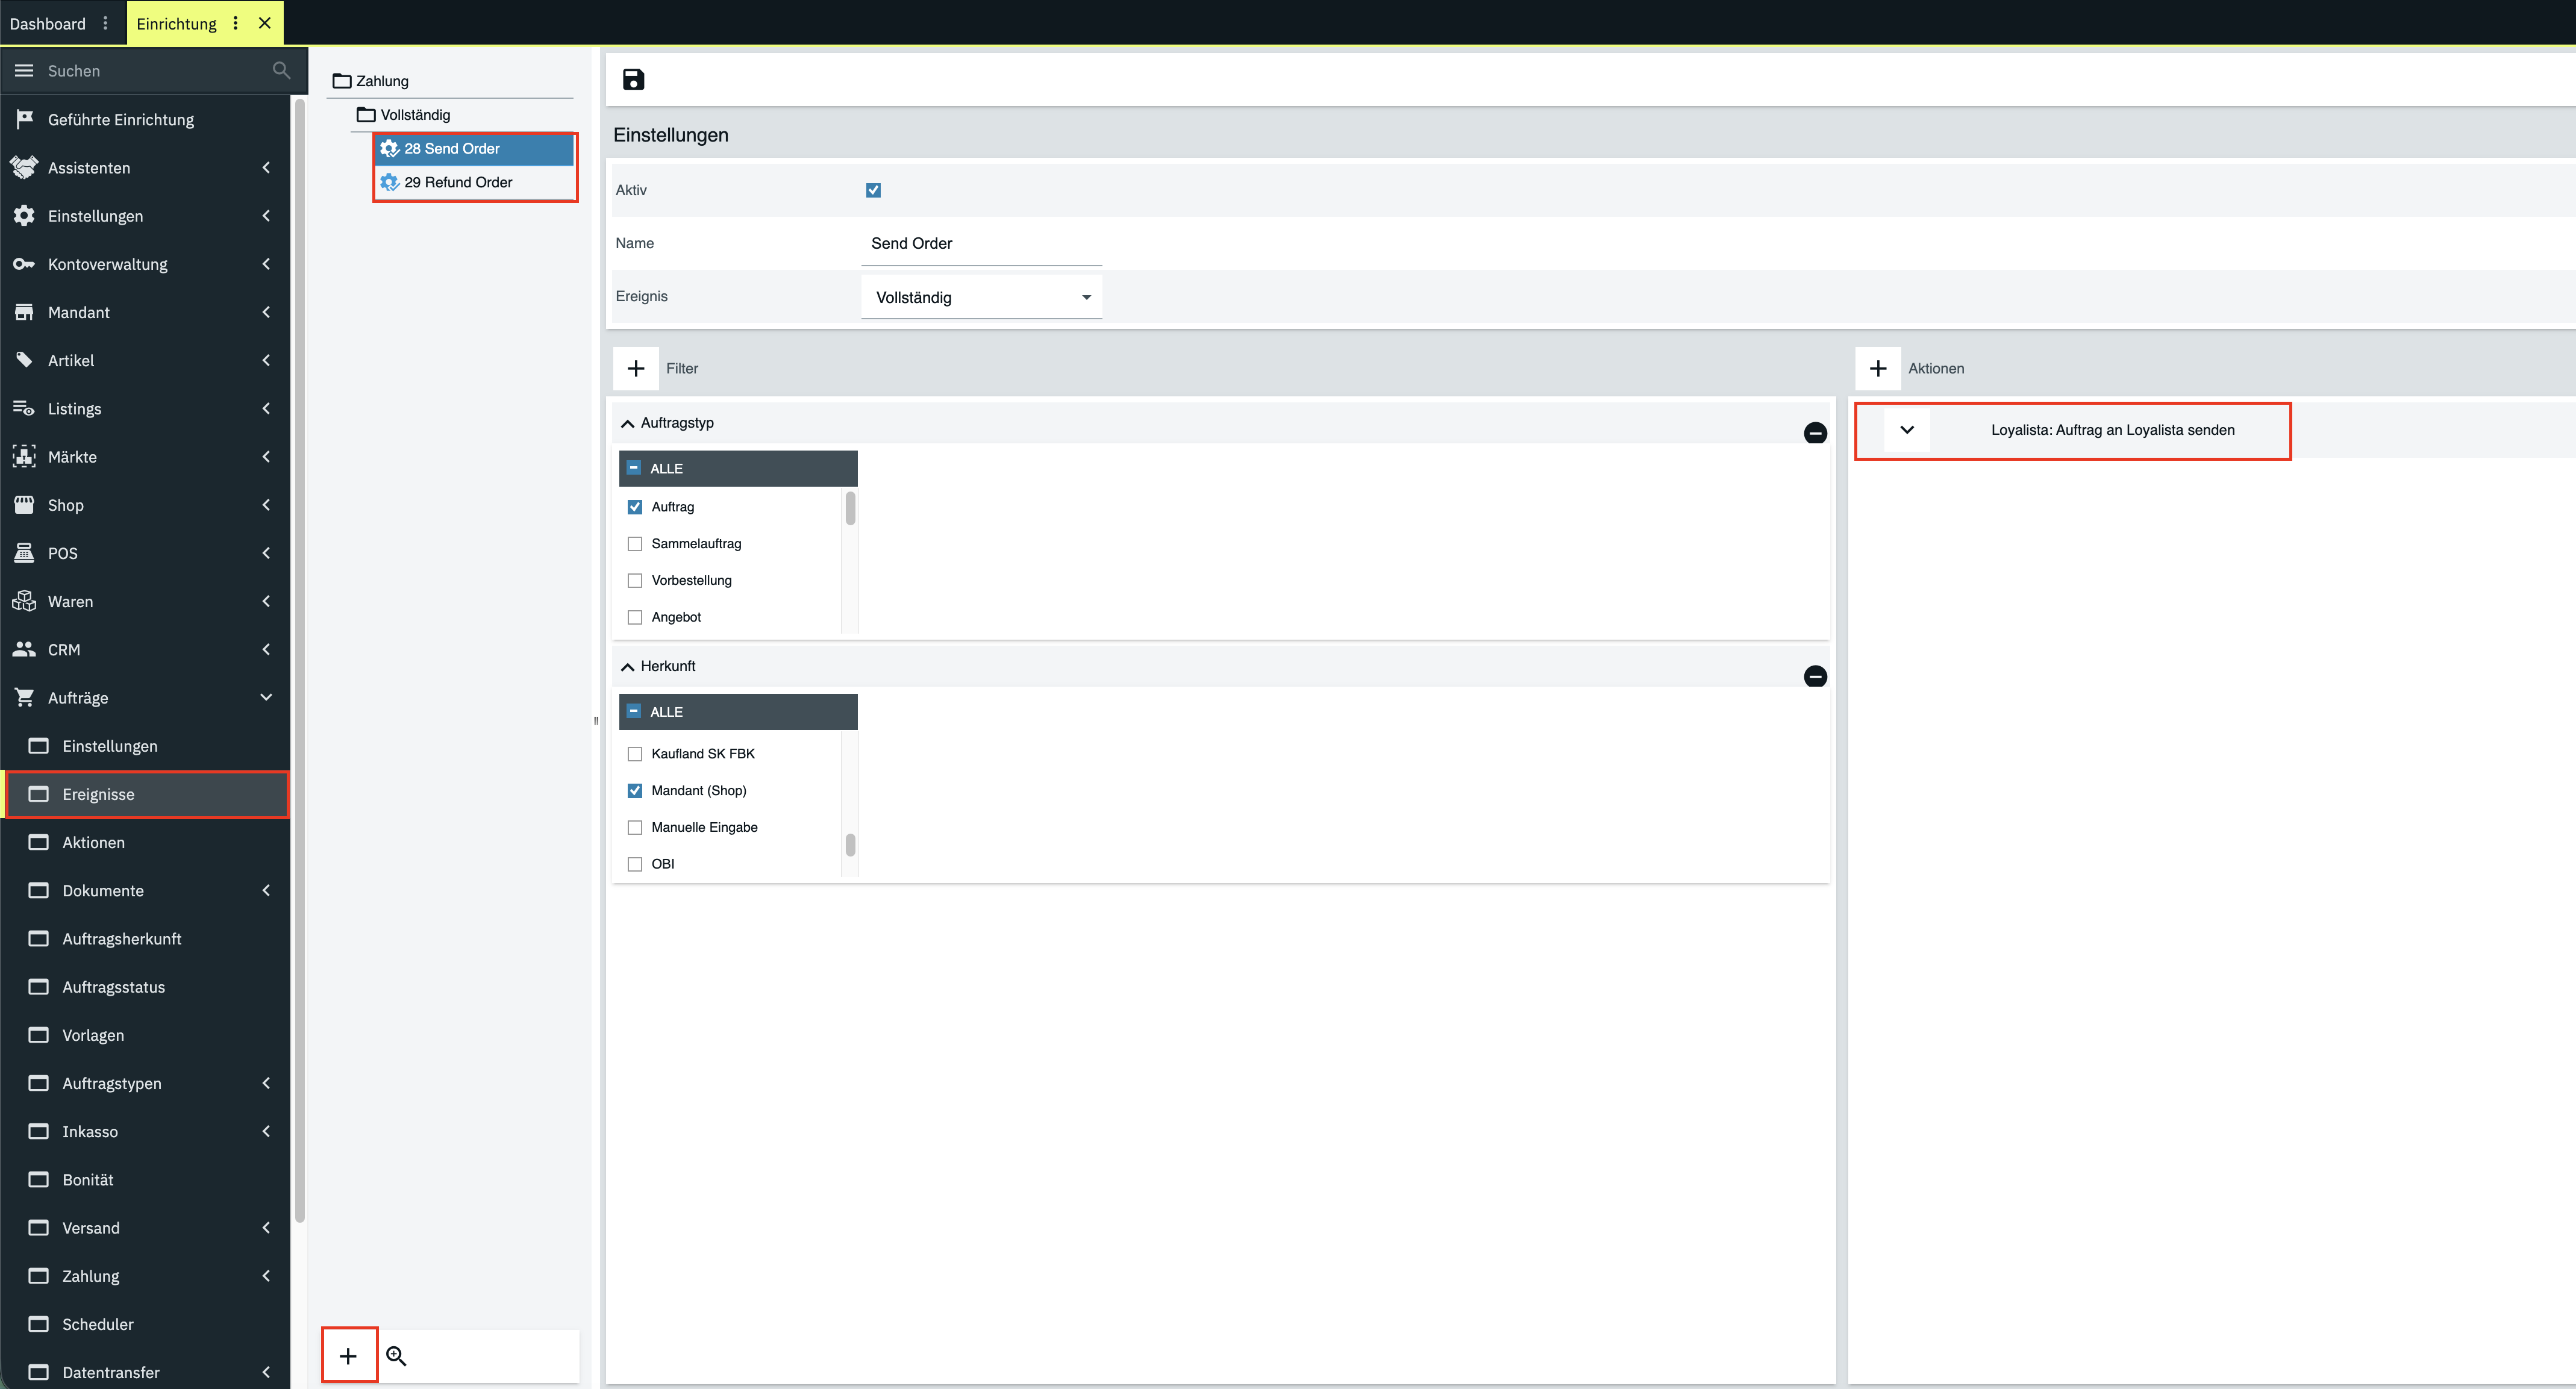
Table 6 shows an example setup for orders:
| Settings | Value |
|---|---|
| Active | Activate |
| Name | Give the event action a unique name |
| Event | Payment >> Complete |
| Filter | Order >> Order type >> Order |
| Filter | Order >> Referrer >> Mandant (Shop) |
| Action | Plugins >> Loyalista: Send order to Loyalista |
Table 7 provides an example setup for credit notes:
| Settings | Value |
|---|---|
| Active | Activate |
| Name | Give the event action a unique name |
| Event | Order generation >> New credit note |
| Filter | Order >> Order type >> Credit note |
| Filter | Order >> Referrer >> Mandant (Shop) |
| Action | Plugins >> Loyalista: Send credit to Loyalista |